Or how to dissassemble inflatable tents the best way including tips
The following disassembly manual for GT Home awnings is intented for the models GT Home Van, GT Home 310 and all variations of GT Home 410. The dissasembly manual for the GT Box is nearly identical, except front and back wall are zipped off and no cross struts on the interior have to be dissassembled. The disassembly is demonstrated on a GT Home Van.
Das Video zur Anleitung
Preparation
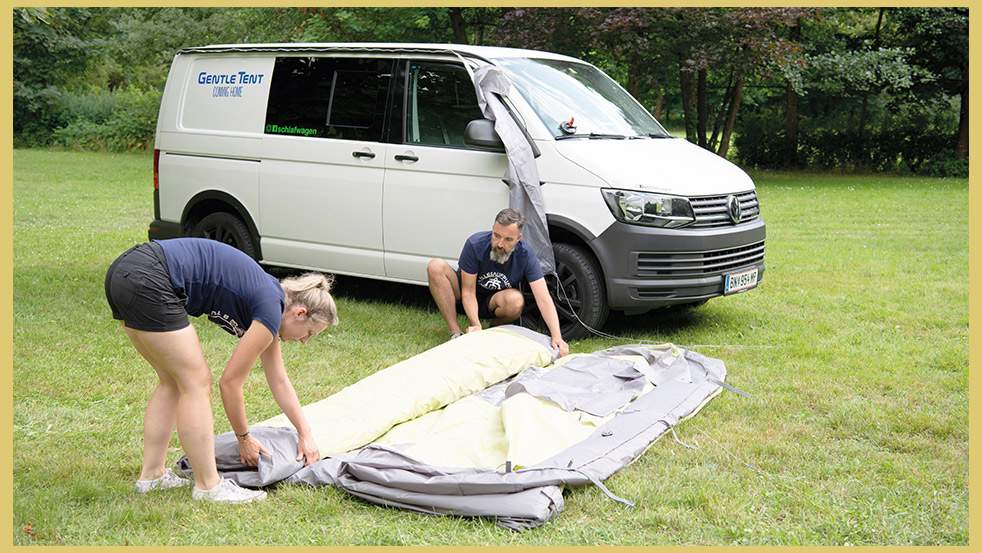
1. Release the guy lines you used to fix the tent to the ground and, depending on wind conditions, pull out the ground pegs.
Tip:During stronger winds leave the 4-6 ground pegs that hold down the tent for the time being.
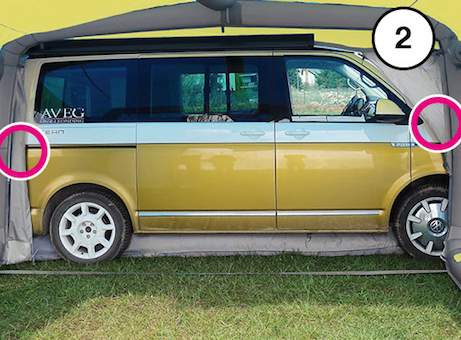
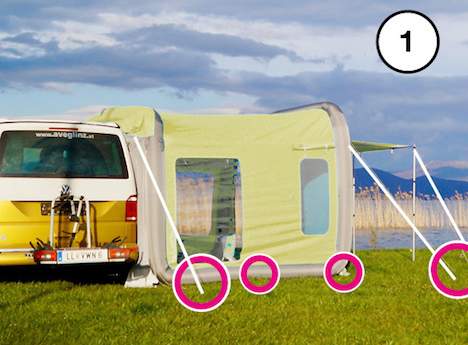
2. Open the zipper of the car-connection that attach the awning to the vehicle.
3. Close rolled up curtains at the windows and ventilation openings on the in- and outside.
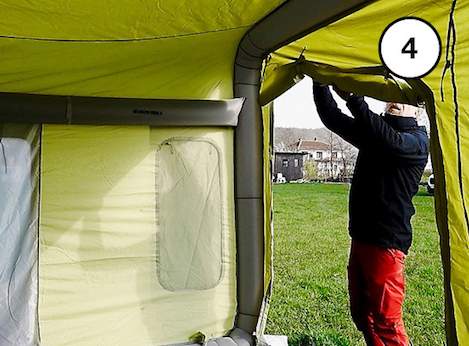
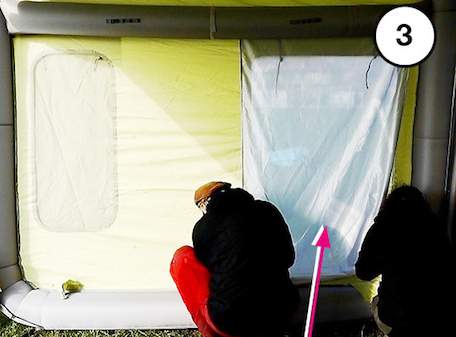
4. Close all zippers at the front of the tent except for the ones on the left and right side.
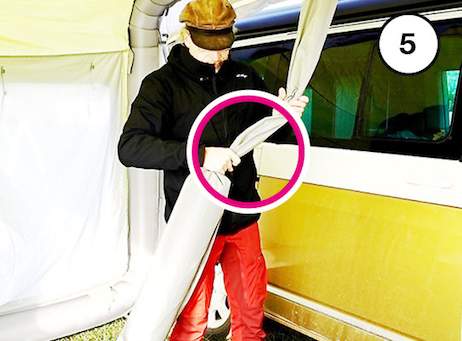
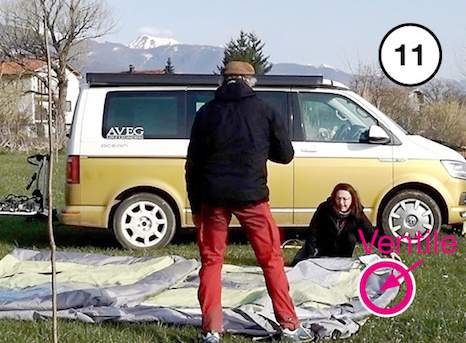
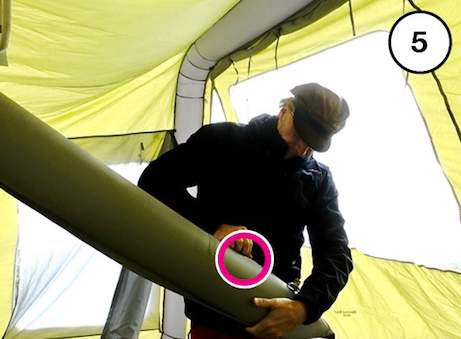 5. Release the cross strut on the interior. Open the valves and squeeze air out of the tubes, starting at the top and working towards the valves, 1-2x until all air has escaped. When the tubes are empty, close the valves again.
Note: The same applies for the additional air tube in the front of the GT Home 410.
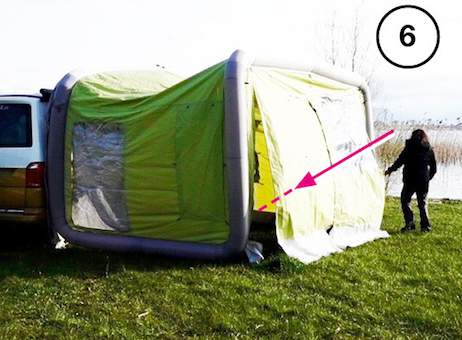
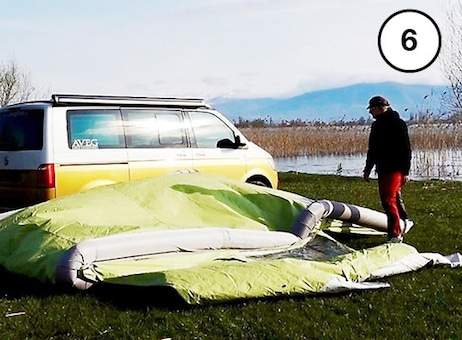
6. Finally, open both valves of the awning’s main tubes (at one broadside on the in- & outside) and let the tent collapse.
Tip: If you have the time, leave the awning for 15 minutes, so some air is squeezed out by the tent’s own weight.
Fold up
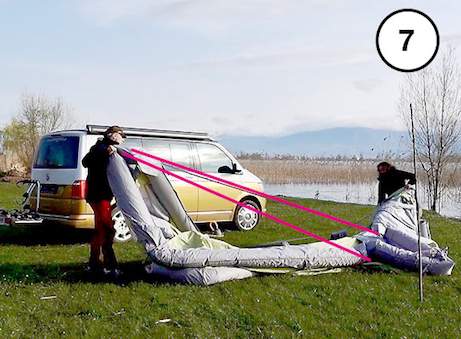
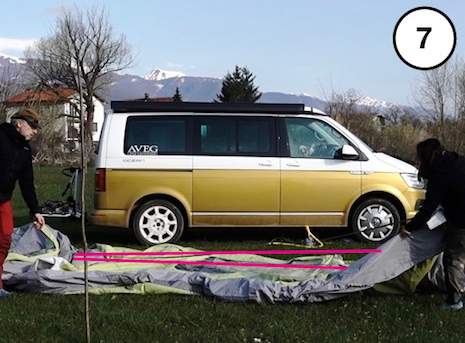
7. 1. Flip the entire awning and put it on the roof.
2. Be mindful that the ground straps lie on top.
3. Make sure that the awning’s front is placed securely under the ground straps.
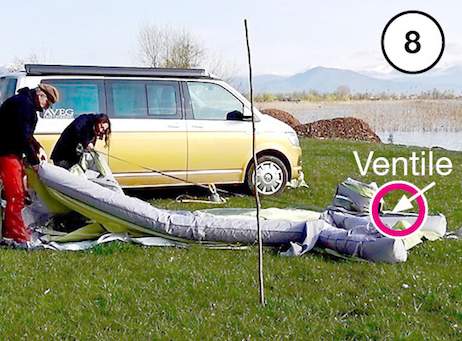
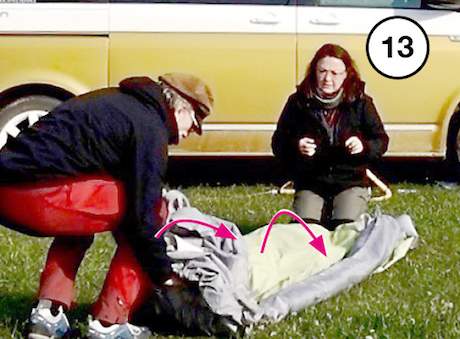
8. Squeeze out air starting on the opposite side of the valves and going towards the same.
If you’re on your own, squeeze out the air on one side first and then on the other side of the air tube. Repeat the process at least 2x!
Tip: Inflating works best when working in twos! Start together at the opposite side of valves – each person following one side – and work towards the valves squeezing out air as you go.
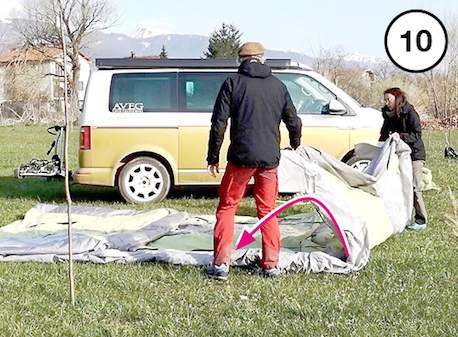
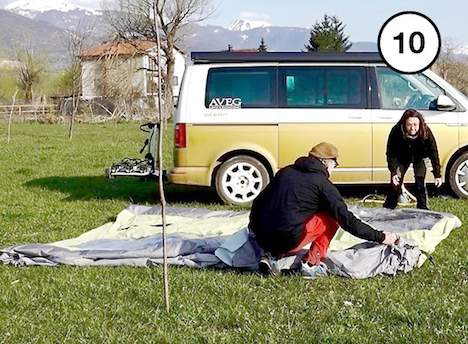
 9. After you’ve emptied the main tube, adjust the awning carefully.
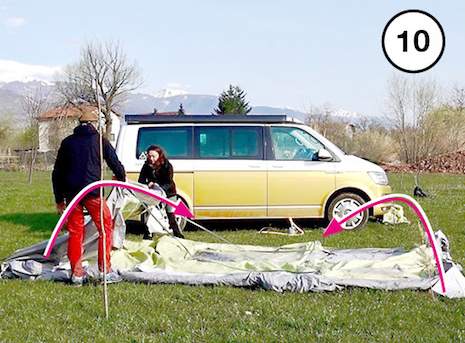
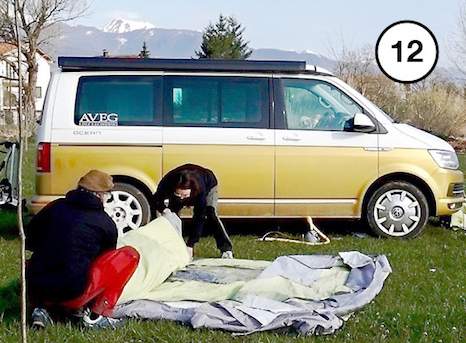
10. Now fold in the left and the right side part. Fold along the seam.
Note: Only the side parts are folded in. Depending on the tent, they might not meet in the middle or have the same length!
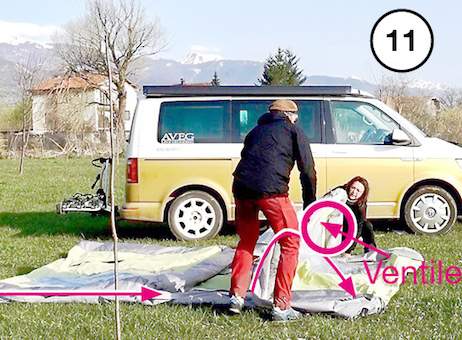
11. Now fold up the side part with the valves in the middle again, so the valves rest on the outer edge. This way, any remaining air can still the escape the air tubes while you continue to fold up the tent.
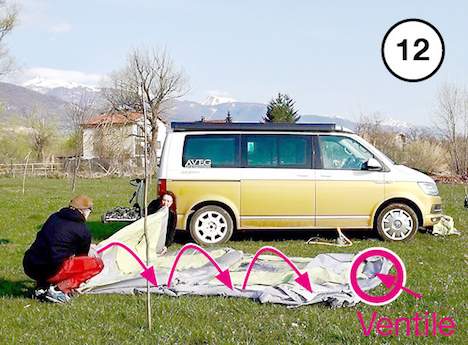
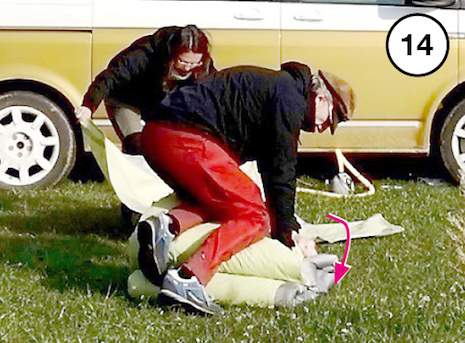
12. Fold up the awning further, starting from the side without valves, until it becomes one long strip.
Applying pressure to the tent with your body weight, any remaining air will be squeezed out.
Note: The folded-in sections should have (exactly!) the size of the packsack!
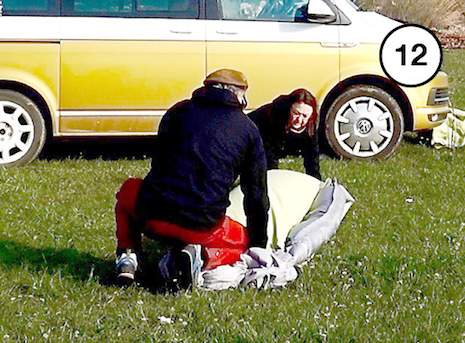
13. Now roll or fold up the awning lengthways.
Note: The valves should now be in the last fold on the bottom.

14. Using your body weight squeeze out remaining air again.
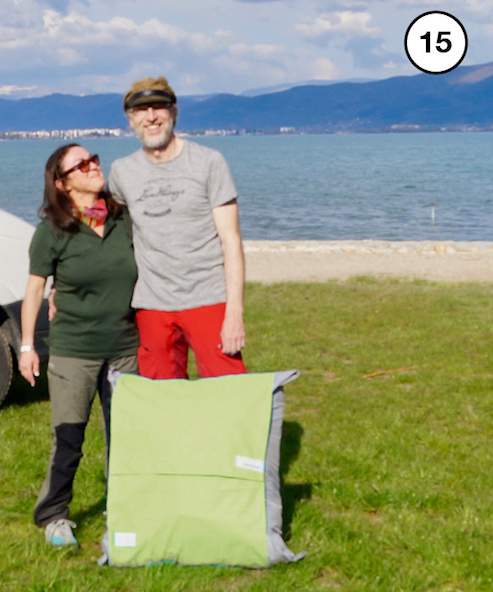
15. Now unfurl the packsack on the ground, tuck in the awning and close the Velcro fasteners. DONE.